One thing we have noticed happening often is that folks buy a new home and they love their beautiful open windows until that first night they go to bed or use the bathroom and realize … “We are on display to everyone!!” That’s when we get the call. “We need help!”
Plan ahead and this won’t happen to you. Here are some time-lines to consider when it comes to custom window coverings:
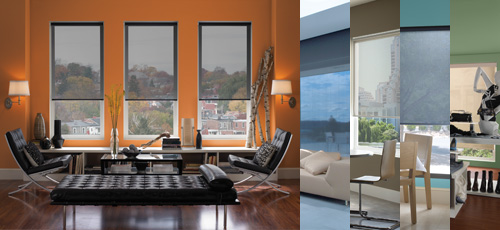
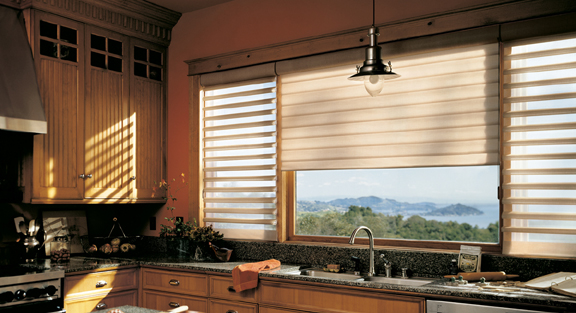
 Shades of any kind (non-motorized) – 2 1/2 – 3 weeks
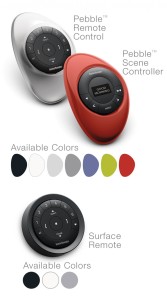
 Wired motorized systems – best to pre-wire during construction. The shades can take 3-5 weeks for final delivery once windows are ready to be measured.
So, plan ahead. Give us a call at 770-512-0206 so we can help you make every night including your first one a beautiful and enjoyable night!